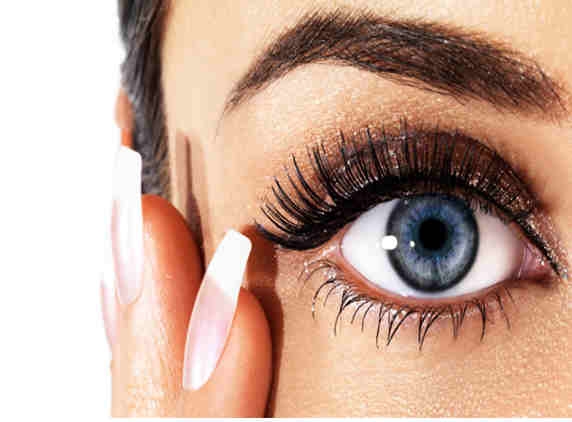
The marriages ka season is yet to begin soon... and we are getting ready to transform our selves to the best to attend all these special occasions. rest all is perfect, but know how to transform the best of you, that is your ‘eyes’ in a better way and get that perfect smoky look, that add volume to your expression.
Step 1: Determine the shade of the shadow you should use. More natural shades (like browns, taupes and greys) will look softer; non-skin tone shades (like greens, blues and plums) will look more apparent on the face. The choice is yours, but if you are a beginner, you might want to stick to medium-browns and taupes as you are learning.
Consider your skin tone -- if your skin is light, choose a lighter version of a shadow colour (like a lighter plum); the deeper your skin, the darker you need to go (like an aubergine). A swatch test on the back of your hand will help you decide the best shade for you.
Step 2: Choose texture: matte or shimmer. A light shimmer shadow is much easier to work with, as it will blend more subtly into the skin. Mattes look great, but require a little more skill.
Step 3: Use the flat end of a small, double-ended shadow brush to apply a base shadow all over the lid area. Your base shadow should be a neutral, matte shadow that will act as a primer or foundation before you apply the coloured shadow. It will help the colour shadow grab on and stay put, and it will also neutralize your eyelid's natural skin tone so the colour of the shadow on your lid will more closely match its colour in the pan.
Step 4: Pick up a little of the coloured shadow with the flat end of your double-sided eye shadow brush. Blend the shadow from the upper lash line up into the crease to open and lift the eye.
Step 5: Use the pointy end of the brush to apply the coloured shadow to the lower lash line. Begin your application in the centre of the lower lash line, just below the iris. Move the brush slowly from side to side to give you more control in placement, so you can catch any overshading.
Smoky liner under the eye will make your eyes look bigger, but it can also exaggerate flaws like close-set eyes or droopy corners. For close-set eyes, don't go too far into the inner corners. For droopy eyes, keep the line extra thin in the outer corners, widening in the centre and toward the inner corners.
Step 6: Experiment with the thickness of the line below the eye. If you get a hang-dog look, take a Q-tip and lift up the line. Remember, the key is not to have a hard, solid line; the more smudged and broken the better. You can even take your finger and blend-smudge the line if it looks too solid. Once you have learned what placement works best for you, it's a breeze. You can play with different colours, moving from soft taupes to subtle khakis.
Step 7: If you prefer a little extra definition, use the pointy end of your double-sided brush to add a shadow on the top lash line. Choose a colour that is a step darker than your lid colour but still within the same colour family.
Step 8: Always finish this look with a generous helping of mascara on the top and bottom lashes.